Terracotta Pot FAQ's & Growing Advice
Ordering
If you don't find what you're looking for in the ordering FAQs, then don't hesitate to contact us.
What size do I need?
If you’re not quite sure which size is right for you, refer to our size guides. They’re located underneath the available sizes for each of our products.
Need help choosing a size?
Knowing if your pot will fit a certain space can be tricky when purchasing online.
A trick that we've found very helpful, particularly for around doorways or balconies, is to cut out a blank of your pot from a piece or cardboard.
Shipping, Returns & Exchanges
We use a reliable nationwide haulage network & tried-and-tested courier partners to carry our deliveries. If you're local, expect Thomas to turn up.
Do you ship overseas?
Yes, we can arrange delivery from Herefordshire to Timbuktu! Thomas has plenty of experience dealing with overseas deliveries and he has many connections in the shipping industry to ensure your pots arrive in a safe and timely manner.
Why is Scotland not included in standard shipping?
We would love to include Scottish homes in our shipping policy.
The problem is that the costs of sending goods to Scotland a) varies much more than English or Welsh addresses and b) costs more in the first place due to the distance.
Because of these facts, we are unable to offer a flat-line price that covers the whole of Scotland > so a quotation is required on each order.
Can I cancel my order?
Absolutely, you are welcome to cancel your order at any time.
Obviously there are Consumer Rights Laws to protect buyers over distance purchases, but we want to state that part of offering the best service doesn't just end at when things go well.
A pot has arrived broken, what do I do?
As of writing this in December 2024, we have had one single case in over four years of business where a pot arrived broken. Although the odds are very low and our complaints department very quiet, we would like to explain the process should the worst happen.
If you or a delegated person are around to receive the delivery, as a first step, please refuse delivery and contact Thomas.
If the break is obvious, the courier will likely not attempt delivery in the first place and we will arrange a replacement.After this Thomas will be in touch pronto to discuss the situation.
Please allow 24-48 hours for the team to handle and rectify the problem.
All of our goods are insured in shipping, so if we are not able to replace your pot(s) due to stock levels, we will either discuss a best alternative or arrange a total refund.
Our priority is your satisfaction and we will always do our best to delivery the most personal and authentic service.
Watering Pots
Watering deserves its own section because it is without doubt the one subject we are asked the most... and it is also the most important.
How much should I water my pots?
There is a general guide when watering your pots that you should aim for one tenth of the pots capacity. So if a pot is 90 litres, you would be looking to soak it with about 9 litres of water.
Keep your application gentle to allow the water to soak into the soil. If your spray is too strong the water will spill off > or worse, wash the compost from the roots.
Maintain a pleasant rainfall-like spray by investing in a good quality hose attachment or a watering can( We love Haws.
Exceptions to this rule will be drought tolerant plants such as dahlias and some grasses who will do better with less.
Allow the soil to dry out between watering. You don't want to encounter root-rot by leaving your plants sat in soggy soil. But that said, don't leave them dry for too long...
How do I know when to water my pots? Tell-tale signs.
When plants become thirsty they begin to display signs such as;
Wilting is easy to spot as your plants will lose their upright form or full vigour.
Loss of colour - look for a loss of lushness in colour.
Drop - Petals may begin to drop and the leaves curl and fall off.
Dryness - The leaves will begin to crisp and die around the edges which will look unsightly. These will need pruning off.
You should never rely on rainfall to water your pots for you. Even on a rainy day by Herefordshire standards you would be surprised at how few drops make it into your pots, when plants begin to establish, the leaves stop the rain reaching the roots.
It's best to maintain a consistent watering schedule.
Seasonal Watering Tips...
EARLY / MID SPRING
We believe this can be the most challenging time for some trees & shrubs. After not being watered over the Winter, the cool but possibly dry spells of March / April can be deceiving. Start to pay attention to your plants as you may need to deliver some hydration earlier than you may think.
SUMMER
Watering in the evening is better than in the morning. Overnight the roots will have more time to absorb water before the heat returns.
If you allow the roots to become too dry, the rootball will shrink. This is problematic because it will begin to separate from the edges of your pot. Once this occurs, water will not be absorbed as it simply spill over the surface and down the sides. If this occurs, grab some compost and fill in the newly created space.
WINTER
Over Winter, don't forget that many plants go dormant. So once they start to die back, until Spring you can leave them be. Excess water over this period may even contribute to root rot.
It is also important to consider what to do when you go on holiday. We've listened to many clients over the years complain about a neighbours son who allowed the garden to go a bit dry in the middle of July. Whoever may be watering your plants, make sure to leave simple, clear written instructions.
Container Gardening Tips
Growing in pots is very different to growing directly in the ground and can bring some challenges as well as many many perks.
In this section we will break down some general terms and tips for you.
What are the benefits of growing in pots?
Growing plants in pots offers several advantages, making it a versatile and practical option for gardeners, homeowners, and businesses alike. You can benefit from placement flexibility, space optimisation, soil control, pest and disease management and portability but to name a few.
Planting; The Basics...
Once you have chosen the perfect pot and your plants are ready, it's time to get to work.
Step 1 - Drainage Holes
All Tom's Yard pots are supplied with standard drainage holes. Though should you want to add more, it's very easy. There's a section on drilling holes in pots in the FAQs below.
Drainage is important because you don't want to allow for the water to build up as this causes the roots to rot and your plants to die. Keeping the drainage holes clear is very important.
Step 2 - To Crock Or Not To Crock
Traditionally, a layer of gravel or broken pieces of old pots have been layered in the bottom of new pots to assist with drainage and prevent compost from clogging up holes at the bottom of a pot.
Many minds now believe that crocks are not needed and that a saturated soil will release water more efficiently without this extra layer.
At Tom's Yard we think that it's best to do a happy medium between the two. A thick layer is probably not required, but it is still wise to make sure that your drainage holes are covered to make sure they allow for water to freely drain.
Step 3 - Compost
With regards to compost (more details on that in the section below), you want to be making sure that you are correctly filling the pot. Don't push your compost down too hard so that it becomes a compressed cake - this will make it difficult for the plant to put down roots. That said, you also don't want it too loose and fluffy - this equally isn't good as too big an air pocket means the roots can't move through the soil.
Step 4 - Planting
The plant(s) your potting should be buried at around the same depth as the soil in their nursery pot. You can go a tiny bit deeper but be aware that planting too deep can have detrimental effects on the plant.
You want to aim for a gap of around an inch between the rim of the pot and the soil. If you plant too high, water will spill off. If you plant too low, your planting will look awkward and you'll waste space.
Step 5 - Watering In
As soon as your plants are ready, it's time to water them in. As the roots begin to spread as they search for water & nutrients over the coming weeks, do be sure to keep on top of the watering as this is when it is most important.
'Potting on' - When and how much?
When your plants roots have filled their current pot, they need 'potting on' to a container with more space. The drop-down below addresses the dangers of just leaving your plants be...
If you suspect a plant may be ready for an upgrade, it’s a good idea to check the roots. Lay the pot on its side and to tease out the plant... placing a tarpaulin first to catch any mess isn't a bad idea!
If the plant is well established, you should find the roots cling on to the soil and it all comes out in one.
It terms of sizing up for a new pot, it's ideal to jump up around 6 - 10cm all around the rootball. This would be a fair jump up in size without going overboard... you can read more about over-potting below! This space would be less for smaller pots.
What is 'pot-bound' and the dangers?
Although your plants may steadily grow above the pot, below can be a whole other story!
The roots of your plants will continue to spread down and out until they hit the walls of the pot. From this point they can only go around, and around... and around until they begin to form a thick, woven layer similar to a matt, this is called being pot-bound.
Over time, if left unresolved, a plant being pot-bound will be detrimental to the health of the plant because it hinders growth, and their absorbance or water and nutrients.
This can take years and years for slow growing plants, but more aggressive and fast growing plants can reach this state within a season or two.
'Over-Potting'... Yes, you can go too large!
Over-potting is a term used to describe a plant that has been placed into a container that is far too spacious and, as a consequence, the plant may begin to suffer.
Using too large of a pot doesn't necessarily lead to problems... but where it can is when the plant is not growing strongly because it fails to establish or sits in too much water.
In the short term after potting up, your plant is most likely going to look fine.
However, after a few weeks or months, some signs that the plant is not happy can begin to show. Watch for;
- Leaf yellowing
- Leaf browning
- Leaf fall
- Wilting
- Stunted growth
- Bronzing on evergreen such as box plants and yew
- Soggy compost on the surface of the pot
The reason the plant is showing signs of stress is because the large volume of new compost that was added when it was potted up is sitting wet for a long period, reducing aeration around the roots. Instead of the roots growing out into the new compost, they simply rot.
Although the compost will dry naturally through evaporation, it takes longer when there is a greater proportion of compost to roots. The more fresh compost there is, the more it will stay wet, creating a soggy ring around the rootball. Finer growing medias that hold onto more water are particularly prone.
Plants that show some of the symptoms described above are often mistakenly watered more not less, thus adding to the problem. And if the overpotting was done late in the
The period of time when an individual plant is in active growth. This will depend on the local climate and light levels, and can vary between different plants, although it is broadly from spring to autumn.
growing season (after June), rather than in spring, this too will mean it is exacerbated by slow plant growth and wetter conditions.
Remedy
If you have already knowingly or accidentally overpotted there are two options;
- Leave it in the large pot but water extremely carefully, only watering when there are signs of the compost drying. This is particularly important in the first few weeks after repotting. Consider foliar feeding (i.e. a liquid fertiliser sprayed directly onto the leaves) to encourage growth without waterlogging. Go to stage two if symptoms appear.
- Gently tip the plant out of the large pot and allow any loose compost to fall away (it is a good idea to do this over some newspaper). Down size the plant into a container that is only just larger than the inner rootball. The loose compost can be saved and used again. Water sparingly until there are signs of the plant recovering.
What does 'dividing' plants mean?
Otherwise known as splitting plants, dividing is a general garden practice to breakdown established plants that begin to take up too much space or that become root-bound. Doing this can also help to give a new lease of life to tired old plants. The best part? It's super easy and you give yourself free plant!
The following are clump-forming perennials that you can split:- hostas, daylillies, grasses, hardy geraniums, rudbeckias, asters, bamboo and even some Spring bulbs.
How it's done
Perennial plants that grow in a clump are easy to propagate by division. The clump can be teased apart or chopped up using a sharp knife or a spade. It may look brutal, but it helps rejuvenate plants and increase the vigour of the original plant – as well as giving you new plants for free.
Timing
Spring and Autumn are the ideal times to lift and divide many perennials. Autumn is always best because it gives newly created plants the time to establish stronger roots compared to what they would achieve in Spring.
What tools do I need?
Basing our response on the basis that most of your gardening will be done in pots, we would consider the following as essentials:-
A good pair of gloves. Something you really don't want to skimp out on. A decent pair will help to protect you from scratches, will feel more comfortable and ultimately last longer. You may want to consider a thicker pair for Winter (better water-resistance, improved insulation, protection when pruning) and a lighter pair for Summer when your doing more delicate tasks such as dead-heading flowers or picking herbs.
A pair of secateurs. To keep on top of woody stems, you will need a pair of secateurs. With these, you absolutely get what you pay for. It is 100% worth investing in a decent pair - think £40+. They won't just feel better than a cheap pair, they will be made from better materials, will last longer and will do a better job of making a clean cut, which is ultimately best for the health of your plants (and your hands!).
A pair of snips. For finer pruning work such as harvesting herbs or dead-heading flowers like dianthus, secateurs may be a bit heavy. Snips have finer, straight blades which make them handy for making sure you're removing the right bits. You can expect to pick up a decent pair for around £15.
A hori-hori. This is a game-changing tool to come from Japan.
A pruning sheet. Gardening can be, no, gardening is messy. You will spill compost, you will need to collect clippings... A good quality pruning sheet can be laid out under a pot to collect falling stuffs and easily tidied away after.
What is mulching?
Mulching is the simple process of covering the soil in your pots with a layer of material, such as manure or bark.
This is a good practice to adopt because applying a layer on top of your soil will help to:-
- Retain moisture
- Suppress weeds
- Insulate your plants roots
- Add nutrients & improve soil structure
- Cover unsightly compost
Typically around 5cm is advised and you want to leave a small space around your plants.
Non-biodegradable mulches like decorate stones do not boost the fertility or structure of the soil, but they do suppress weeds, conserve moisture and bring a decorative element.
Depending on the quality of the material there is a possibility of introducing weeds, pests and diseases to the garden and, with woodchips there is a slight risk of introducing honey fungus.
There is no need to remove mulches to apply fertilisers. Fertilisers are spread over mulches in late winter and are washed down to plant roots by rain.
Read more on mulching your pots here
How do I protect my pots in Winter?
All pots at Tom's Yard withstand temperatures as low at -20c.
Adding insulation to your pots and keeping them warm over Winter will prevent cracks and breakages as well as protecting your plants.
Read more on protecting your pots during Winter here
How do I add more drainage holes?
Should you want to add more drainage holes to a new, or old, terracotta pot it's quite easy (though we can't take any liability should anything go wrong!).
You will need an electric drill equipped with a tile / glass drill bit.
First, place the pot over some grass, a bag of compost, gravel or a thick plank of wood. This covers you from damaging any paving slabs when the drill bit goes through.
Once your pot is in a safe spot, simply apply pressure on the drill and get to work.
It can be nerve-wrecking but hold fast - Thomas has drilled hundreds of pots over the years and not once had a problem.
Drill Bit - The Key Ingredient
Using the correct drill bit is key. The most suitable bit is a tile / glass bit - typically found around 8mm wide. This will cut through the pot like butter. Other drill bits specifically aimed at woodwork or masonry can take ages to cut through the hard clay and the noise can be deafening.
Tip
If you have many pots to drill, do take a break after a while. The metal drill bit will become very hot with the constant friction. As the ends are pointed, they can be prone to snapping off - hot metal shards flying around the place is never ideal!
Compost & Feed
Making sure your plants needs are fulfilled helps to grow the best blooms & displays. We try to keep our FAQs as simple as possible, but this section may include some more technical terms!
What compost do I need?
This is one question we get asked a lot.
This may sound silly to start, but the idea of compost is to mimic the best soil to allow your plant to grow in a confined environment. That said, when you go to the garden centre - why are there so many different types of compost?
Not every plant requires the same compost to flourish.
Generally speaking, a generic multi-purpose compost covers a great deal of planting requirements.
We use Heart of Eden Peat Free Compost and there are lots of peat free varieties available now.
If you're chosen plants prefer acidic soil then an ericaceous compost will be what you need.
It's always a good idea to check your plant labels and do some research before adding compost to your pots.
What is John Innes compost?
John Innes refers to a compost type and is not a direct manufacturer of compost. John Innes composts are ideal for long-term plant growth in pots as their formula is based on recreating a healthy garden loam (a mixture of sand, silt, and clay in roughly equal parts).
There are three main types of John Innes potting composts, universally numbered 1 -3 which reference varying levels of fertilizer included in the mix:-
John Innes No 1. Designed for pricking out or potting on young seedlings or rooted cuttings. It contains a low, carefully balanced amount of fertilizer to give enough for growth but avoid scorching the delicate young roots.
John Innes No 2. Contains moderate levels of fertilizer and is used for potting on plants at the next stage of growth, and most vegetables. Good for perennial bulbs.
John Innes No 3. Holds the highest levels of fertilizer and is suitable for mature plants growing in pots, such as shrubs, small trees, perennials, and conifers.
Tips
The quality of composts on sale may vary and there are no legally binding quality control standards for John Innes composts.
However, many manufacturers belong to the John Innes Manufacturers’ Association and aim to produce good quality products and this will be clearly indicated on the compost bag.
Who?
John Innes composts were originally developed in the 1930’s at the John Innes Horticultural Research Institute, named after the 19th century developer and philanthropist, John Innes, who bequeathed his fortune to the improvement of horticulture.
What is Ericaceous compost?
This is a soil blend with a low pH level that's suited to plants that prefer acidic conditions. It's used to help acid-loving plants absorb nutrients, preventing poor growth and yellow leaves.
Plants that prefer acidic soil are rhododendrons, camellias, azaleas, blueberries, cranberries, and heathers. For acers (Japanese Maples) you can use a weaker 50:50 mix with a generic multi-purpose or John Innes.
Do I need to feed plants in pots?
Plants require a range of nutrients for healthy growth.
Unlike their companions grown in the wider garden i.e. in beds & borders, plants in pots won't receive the same natural breakdown of organic matter... So it's up to you to intervene!
Fertilisers are food for plants that can be bought in concentrated and compact forms such as pellets, granules, powder, or liquid.
Fertilisers that contain the three major nutrients, NPK, are known by a variety of terms. These include All purpose, All round, Complete, Compound, General Purpose and Universal. There are many different brands and types of all-round fertiliser.
As these ‘general’ fertilisers, there are also fertilisers for specific plants such as tomatoes and roses.
Bagged Compost Claims
Many bagged composts will state how packed full they are of fertiliser... but the quantities are time-limited and in a matter of weeks / few months will be absorbed by the plants or washed out as they are watered so always feed your plants regularly.
What is N:P:K?
N : P : K is a 3-part ratio that you should expect to find on the label of every fertiliser. Each letter refers to a major nutrient in the feed that all plants require for a happy life.
This ratio (always in the order N : P : K) refers to how much of each nutrient the fertiliser will deliver. If the numbers are the same or similar, this is a ‘balanced’ fertiliser. Where one number is higher than others, the proportion differs and the fertiliser is best used at a particular time of year.
Plants need different amounts of nutrients at certain times of year, so getting your head around this ratio helps to understand what each one is used for.
The Nutrients
N refers to Nitrogen. This boosts leafy growth and is most needed in spring and early summer. Avoid applying a high-nitrogen fertiliser late in the season as soft leafy growth is easily damaged by frost. High nitrogen feeders include lawn food.
P refers to Phosphorus. This promotes root development, so higher levels of phosphorus are required when planting, particularly in autumn. Bonemeal contains high levels of phosphorus.
K refers to Potassium. This helps flowers and fruit to form and should be applied from late spring to the end of summer. A good example of a high potassium feed is a tomato feed (above) which is used to increase flower and fruit production in fruiting plants, particularly tomatoes.
Tom's Tip
Thomas remembers their order as 'Above (N), below (P) & all-around (K)'!
How can I tell if my plants have nutrient deficiencies?
To grow well, plants need a wide range of nutrients in various amounts, depending on the individual plant and its stage of growth. The three key plant nutrients usually derived from soil are nitrogen, phosphorus and potassium, while carbon, oxygen and hydrogen are absorbed from the air. Other vital soil nutrients include magnesium, calcium and sulphur. Gardeners can add nutrients by applying fertilisers (either artificial or naturally derived) to boost plant growth and improve flowering and fruiting.
Nutrient deficiencies cause symptoms such as leaf yellowing or browning, sometimes in distinctive patterns. This may be accompanied by stunted growth and poor flowering or fruiting.
Yellow or reddish coloured leaves, stunted growth and poor flowering are all common symptoms of nitrogen, magnesium or potassium deficiency.
Specific Planting Advice
We're always happy to help with the basics.
How do I plant roses in pots?
The size of the pot is important when planting roses, too small and the rose won't establish well and will under perform. As a general rule we suggest the following sizes for:
- Patio and miniature roses: Can be grown in pots that are 9–14 inches deep
- Ground cover and climbing roses: Require larger pots that are at least 12–18 inches deep
- Smaller shrub roses: Use pots that are 14–16 inches in diameter
- Larger ramblers : Use pots that are up to 20–22 inches deep
Planting the rose in the pot
Fill 2/3 of the pot with compost.
Water the rose well before planting.
Add the rose and fill in the remaining space around the rose with soil, pressing it down firmly. The top of the soil should be just below the bud union.
Roses in pots require more water than if planted directly into the ground so be sure to water regularly during the growing season.
How do I plant trees in pots?
Terracotta pots are the perfect vessel for planting small and patio trees. They provide weight to keep trees sturdy and stable in adverse weather conditions.
You need to choose a pot large enough for the trees root ball and a pot with plenty of drainage holes (See our FAQ on adding more drainage holes).
Fill the pot with compost leaving enough room for the top of the root ball to be level with the soil ( just below the lip of your pot is a good gauge).
Soak your tree root ball for about an hour before adding.
Add the tree and fill with compost.
Be sure to keep well watered over the Summer.
Read our article on the creating an orchard in pots here
and our top trees for seasonal interest article here
How do I plant Spring bulbs in pots?
Bulbs are perfect for planting in pots, it allows you to lift and store them fore next year to leave the pots tfor seasonal displays. It also allows you to try new varieties and experiment with Spring bulbs year on year. If you're not sure on how to plant bulbs in pots here is a quick guide.
Choose a pot: Select a pot that's at least 30cm wide and deep with drainage holes. Terracotta pots are ideal so you can leave it outside over winter and all Tom's Yard pots withstand temperatures to -20c
Add compost: Fill the bottom of the pot with a few inches of compost. You can add some crocks or stones to the bottom for drainage.
Plant the bulbs: Place the bulbs in the pot with the pointed end facing up, and space them about 1–2 cm apart. You can plant the largest and latest flowering bulbs (Tulips) in the deepest layer, and work your way up to the smallest and earliest (crocus, iris and muscari). This is known as a bulb lasagna and you can read more on that here
Cover and water: Add more compost to cover the bulbs, then gently firm it down. Water well.
Add a topper: Adding gravel or shell to the top of your pot will deter weeds.
As soon as you see shoots emerge in Spring, start to water your pots regularly to promote strong long growth.
How do I plant climbers in pots?
Tall pots are perfect for planting climbers in, especially clematis who prefer to be 10-15cm below the soil level. Tall terracotta pots keep the root system cool during hot weather.
If you're growing against a wall, a flat backed pot would be ideal and be sure to add trellis or wire to the surface it is climbing up to give your climber support.
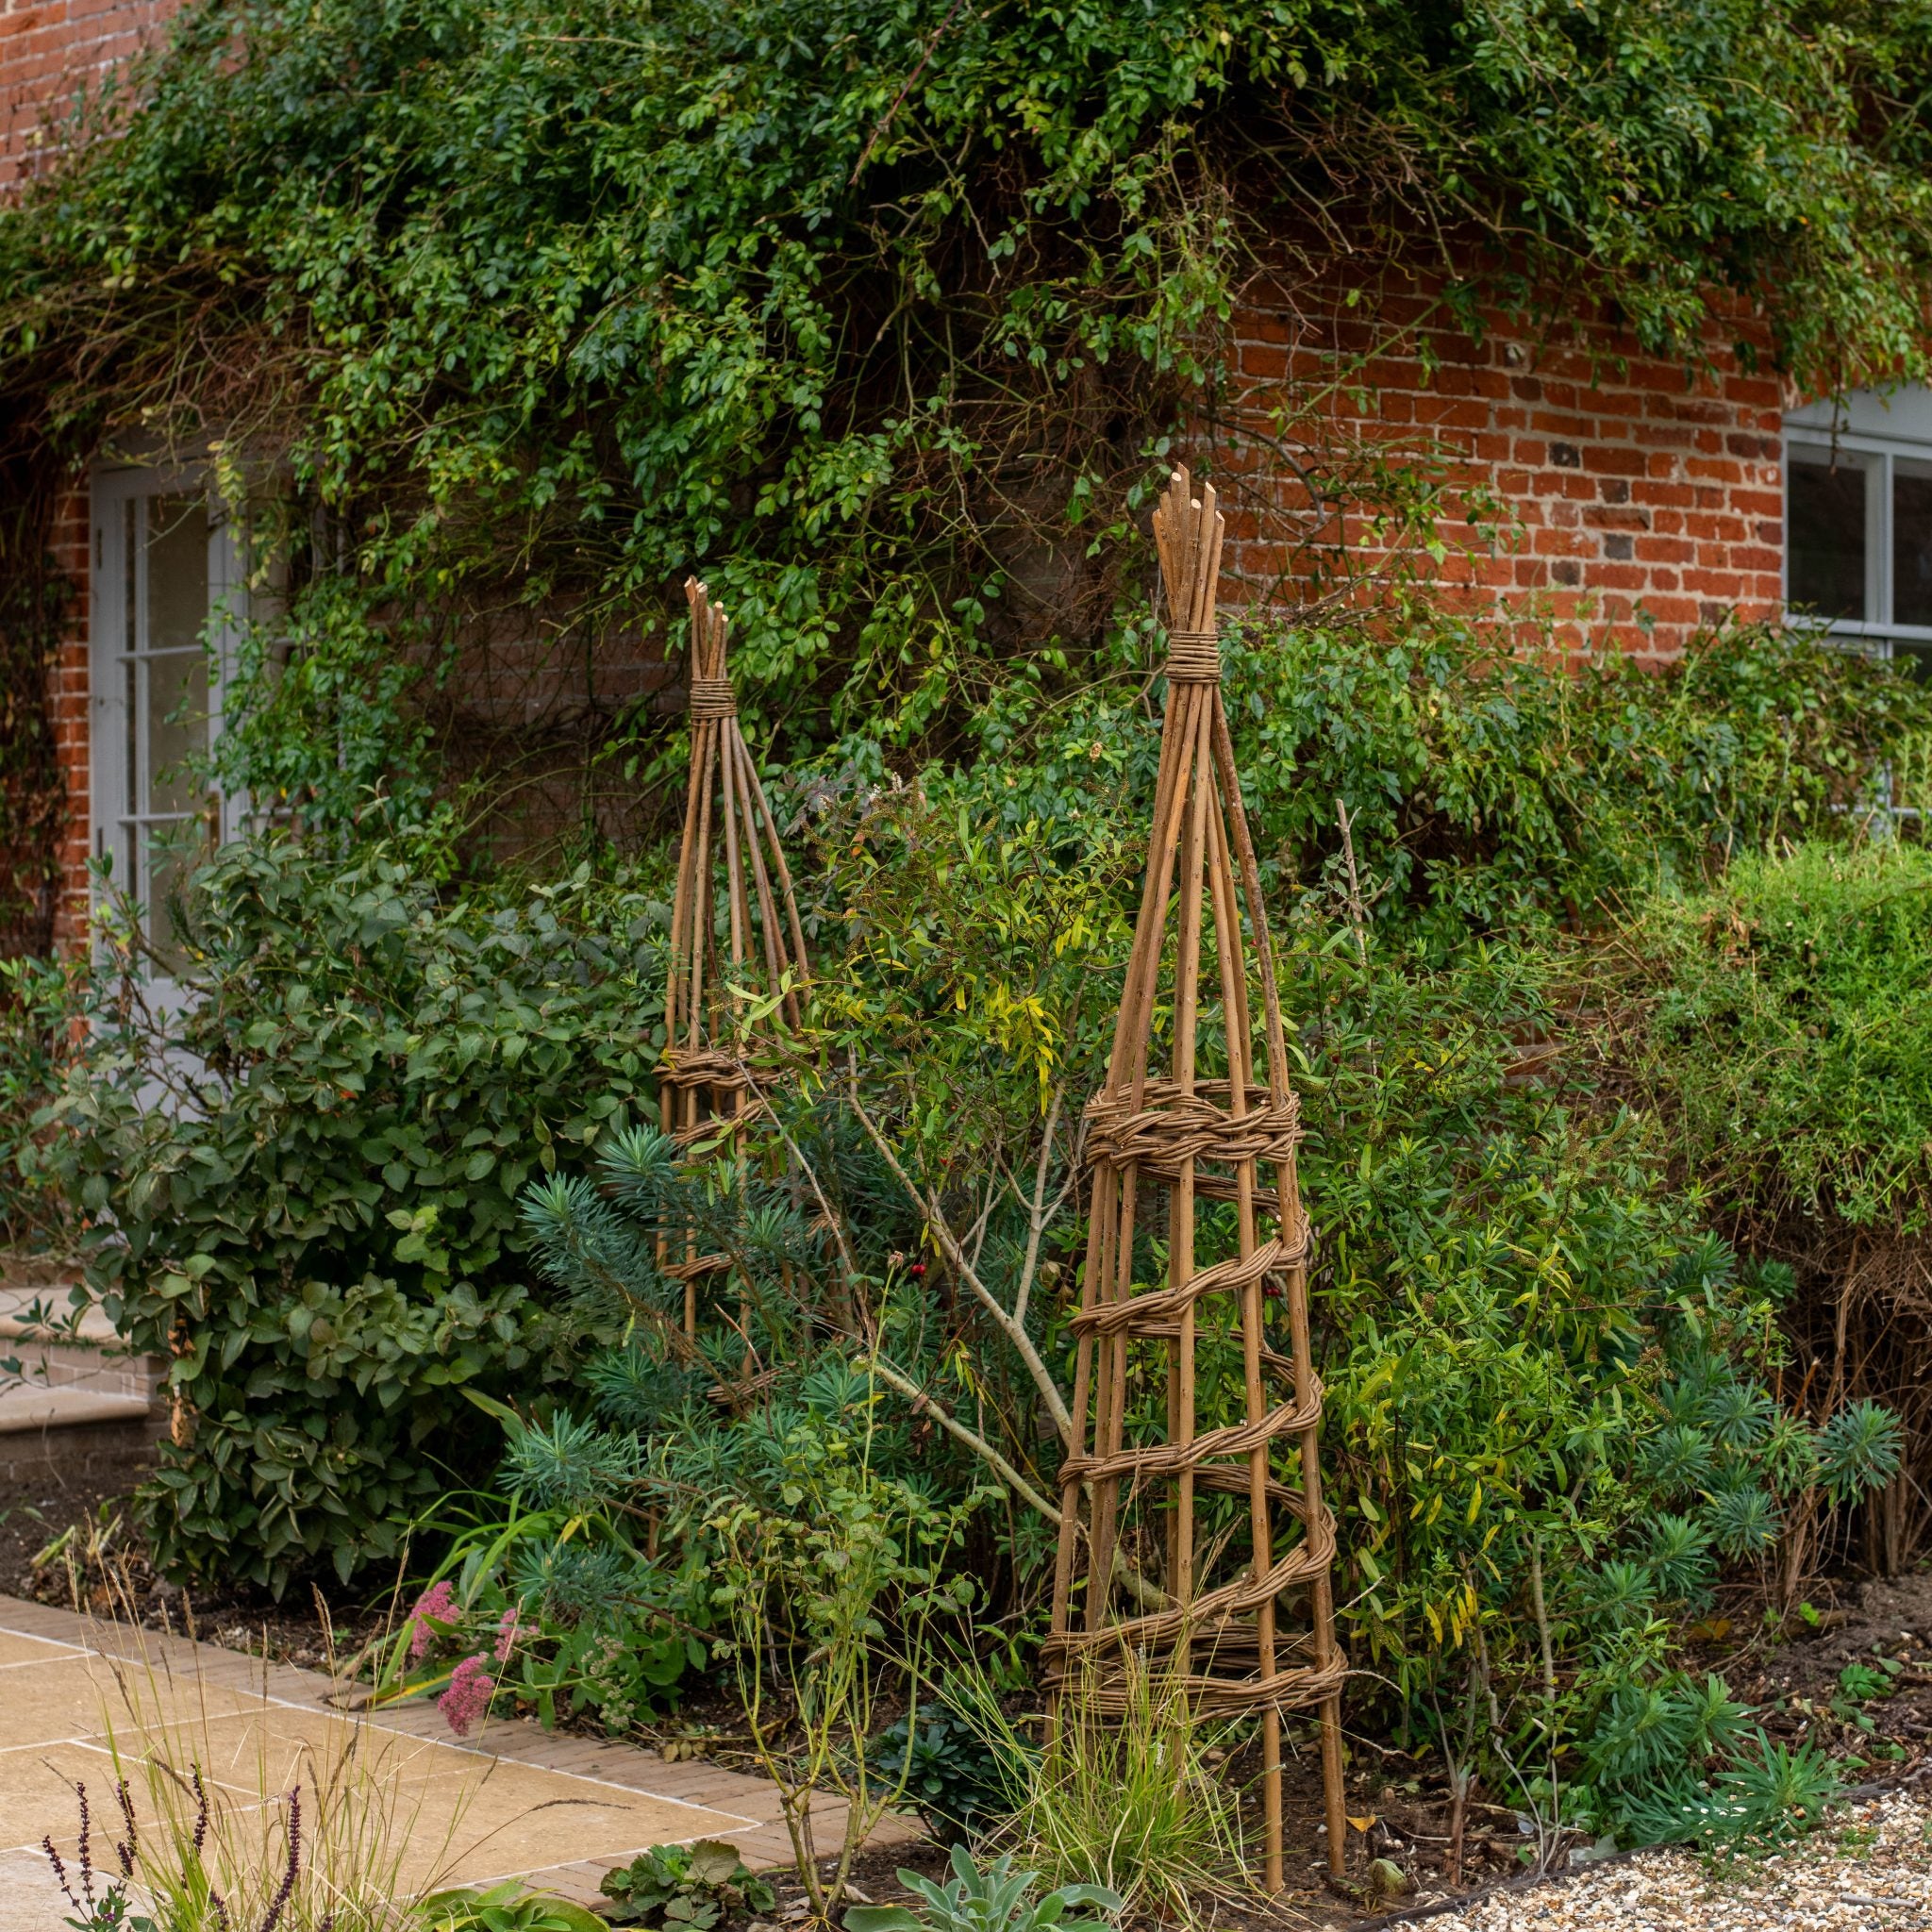
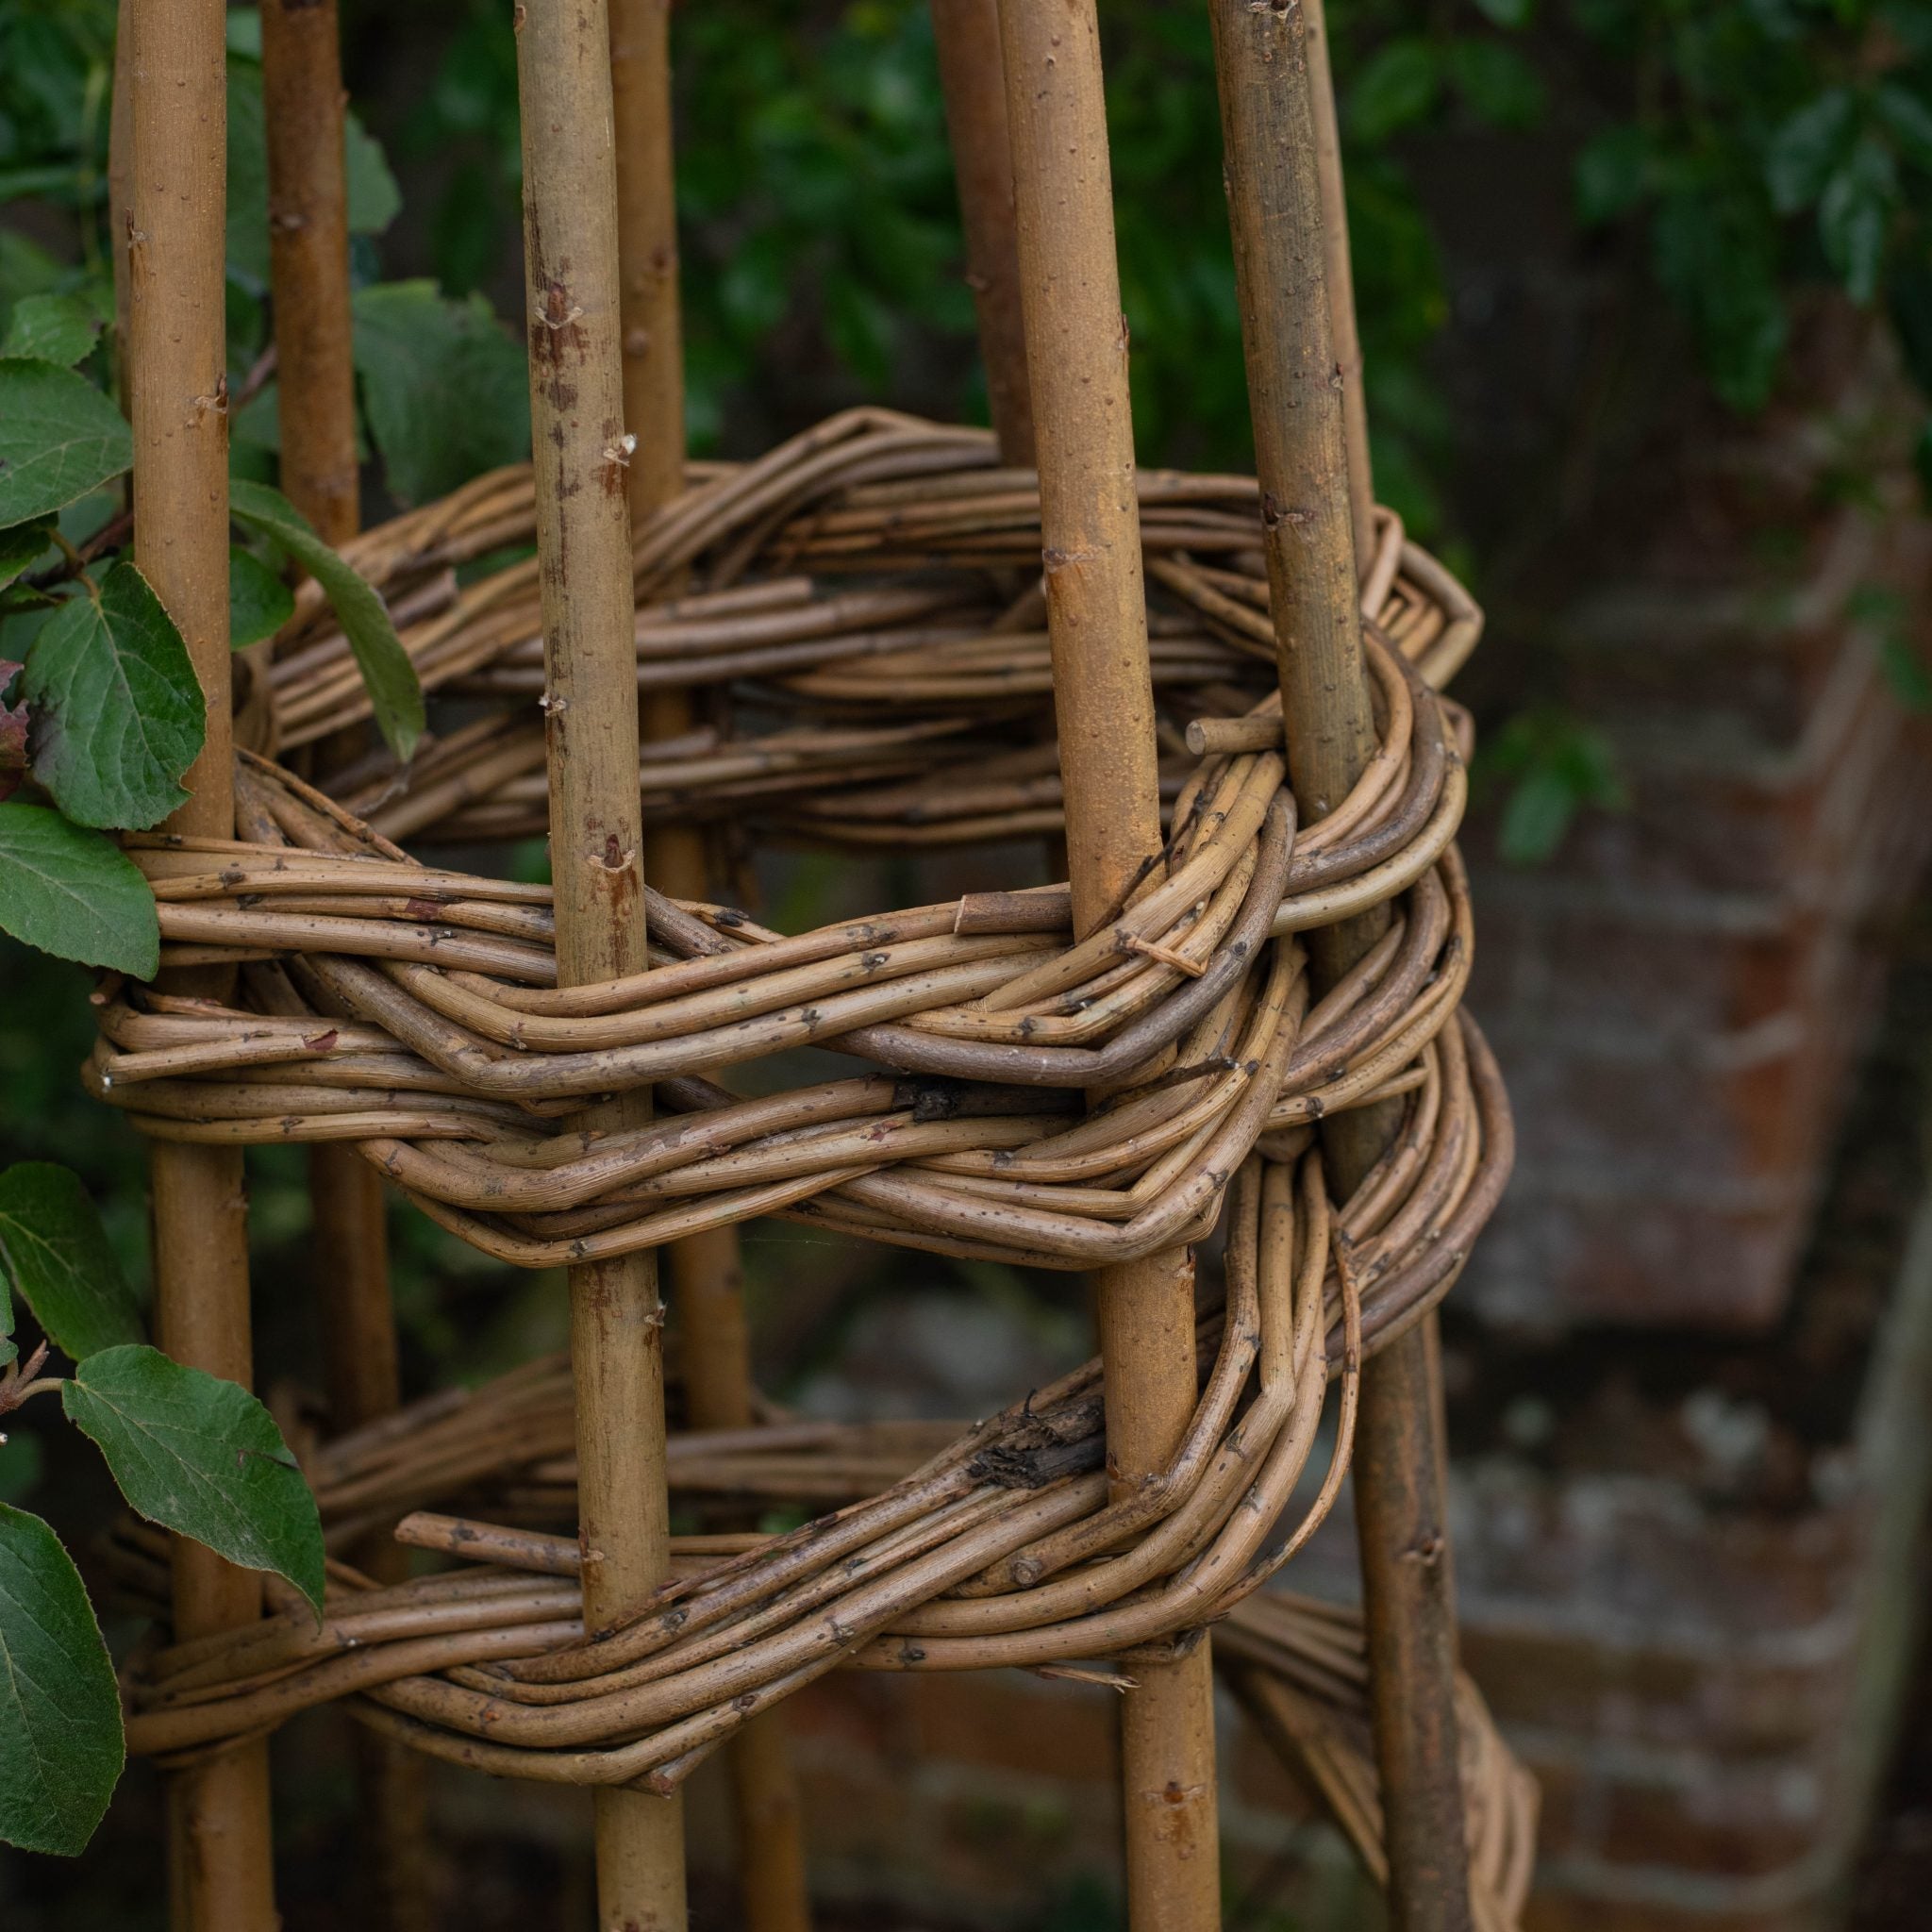
If you want to grow your climber in a pot away from a wall, you'll need an obelisk. A wide rimmed as well as tall pot is best for this and to give stability plant to obelisk plant the structure so its a little below the surface.
Climbing plants can be hungry so make sure you are adding an annual feed and keeping the soil in the pot topped up. Adding a layer of bark chips will help keep the roots cool to.
Can I plant a herb garden in a pot?
Yes! Yes! Yes! Herbs are perfect in pots, you just need to group herbs with similar needs if planning on planting a few together. For example, drought-tolerant herbs like rosemary, lavender, and thyme prefer full sun and well-drained soil so make the perfect companions.
Traditional terracotta 'long tom' pots are ideal containers for herbs. Taller and narrower than most pots, they accommodate long root runs and are perfect for planting herbs like cilantro, dill, fennel, and parsley.
If you want to plant mint, be sure to plant it on its own as it has an aggressive root system that will smother the other herbs and cause them to die.
What can I plant in shady areas (Bulbs, Herbaceous, Shrubs...)?
Pots are perfect for brightening up difficult shaded spots in your garden. The following all work perfectly in pots and thrive in shade;
Boxwood and ferns offer lush green elements.
Hostas are a hero in shaded places, flourishing in pots - slugs and snails find it harder to nibble potted plants - but not impossible so copper rings and other deterrants are still advised.
Hellebores bring much needed winter colour to shady spots with hydrangeas taking the baton for the later seasons.
Heuchera (Coral bells) adds a dynamic folliage element to pots and plants such as astilbe, aster, fuschia and anemones all bring delightful colour pops to shaded spaces.
Get in touch
Have a question not answered above? Ask Thomas.
If he isn't sure on a more technical plant-based question, he will know someone who is.
