
How to Plant Bulbs in Pots: A Step-by-Step Guide for Gorgeous Blooms
Planting flower bulbs in pots is one of the easiest and most rewarding ways to enjoy vibrant blooms, even if you’re short on garden space. Whether you're decorating a balcony, patio, or windowsill, container gardening with bulbs adds a burst of color and seasonal charm to your outdoor space.
In this article, we’ll walk you through how to plant bulbs in pots, what you'll need, and how to care for them to ensure a beautiful display in spring or summer.
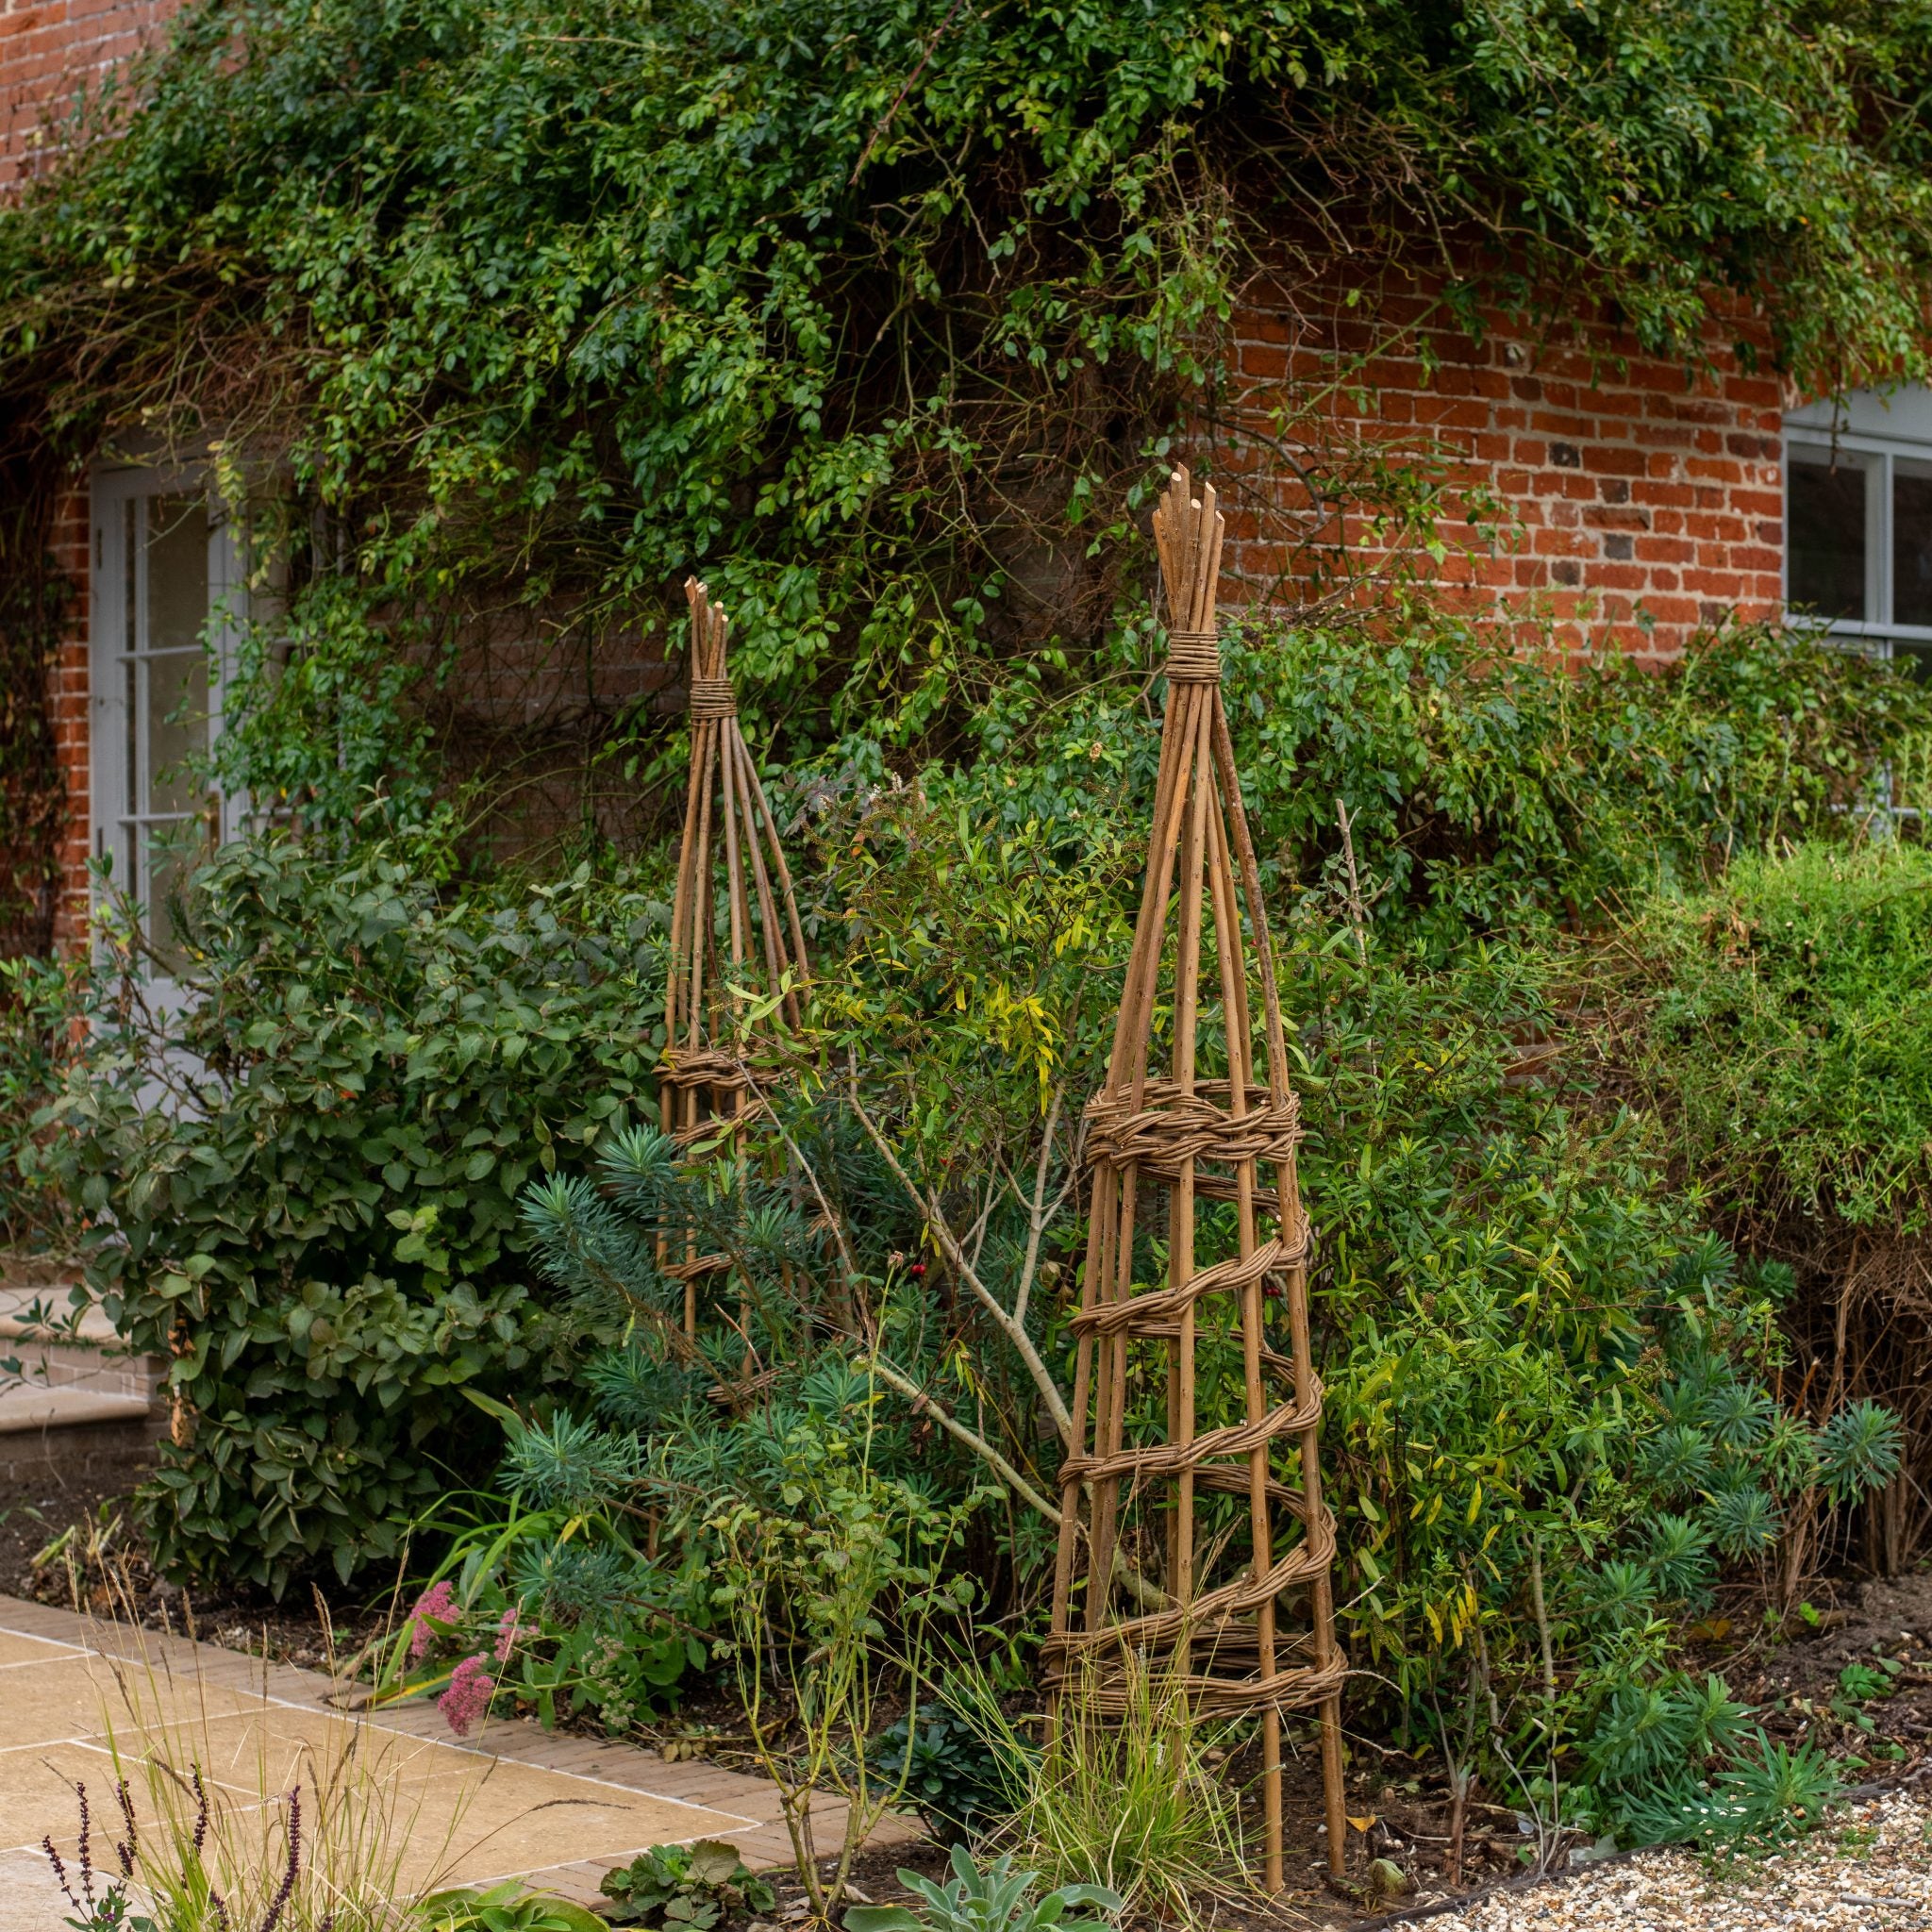
![]()
Why Plant Bulbs in Pots?
Planting bulbs in pots offers several advantages:
Mobility – Easily move pots to sunnier spots or protect them from harsh weather.
Control – Customize your soil mix and drainage more easily than in a garden bed.
Space-saving – Perfect for small gardens, patios, balconies, or indoor forcing.
Design freedom – Layer bulbs for a "lasagne planting" that blooms in succession.
What You’ll Need
Before you begin, gather the following materials:
Flower bulbs (tulips, daffodils, crocuses, hyacinths, alliums, etc.)
A container with drainage holes
Good-quality potting mix (well-draining... John Innes 2 is a customer favourite)
Gravel or crocks (optional, for extra drainage)
Step-by-Step: How to Plant Bulbs in Pots
1. Choose the Right Pot
Select a container that’s at least 8–12 inches deep with drainage holes. Deeper pots can hold multiple layers of bulbs, and drainage holes are essential to prevent rot.
2. Add a Drainage Layer (Optional)
Add a 1–2 inch layer of gravel, broken pottery, or stones to the bottom of your pot to help with drainage. This is especially useful if your pot sits outside and may collect rainwater.
3. Fill with Potting Mix
Fill the pot with potting mix up to about halfway. Use a free-draining mix, and avoid using garden soil as it can compact and retain too much moisture.
4. Position the Bulbs
Place bulbs pointy end up, flat end down. Space them closely but not touching—about a bulb’s width apart. You can plant a single layer or try lasagne planting for a longer flowering season:
Bottom layer: Late bloomers like tulips or alliums
Middle layer: Mid-season bulbs like hyacinths
Top layer: Early bloomers like crocuses or mini daffodils
Cover each layer with a few inches of potting mix before adding the next.
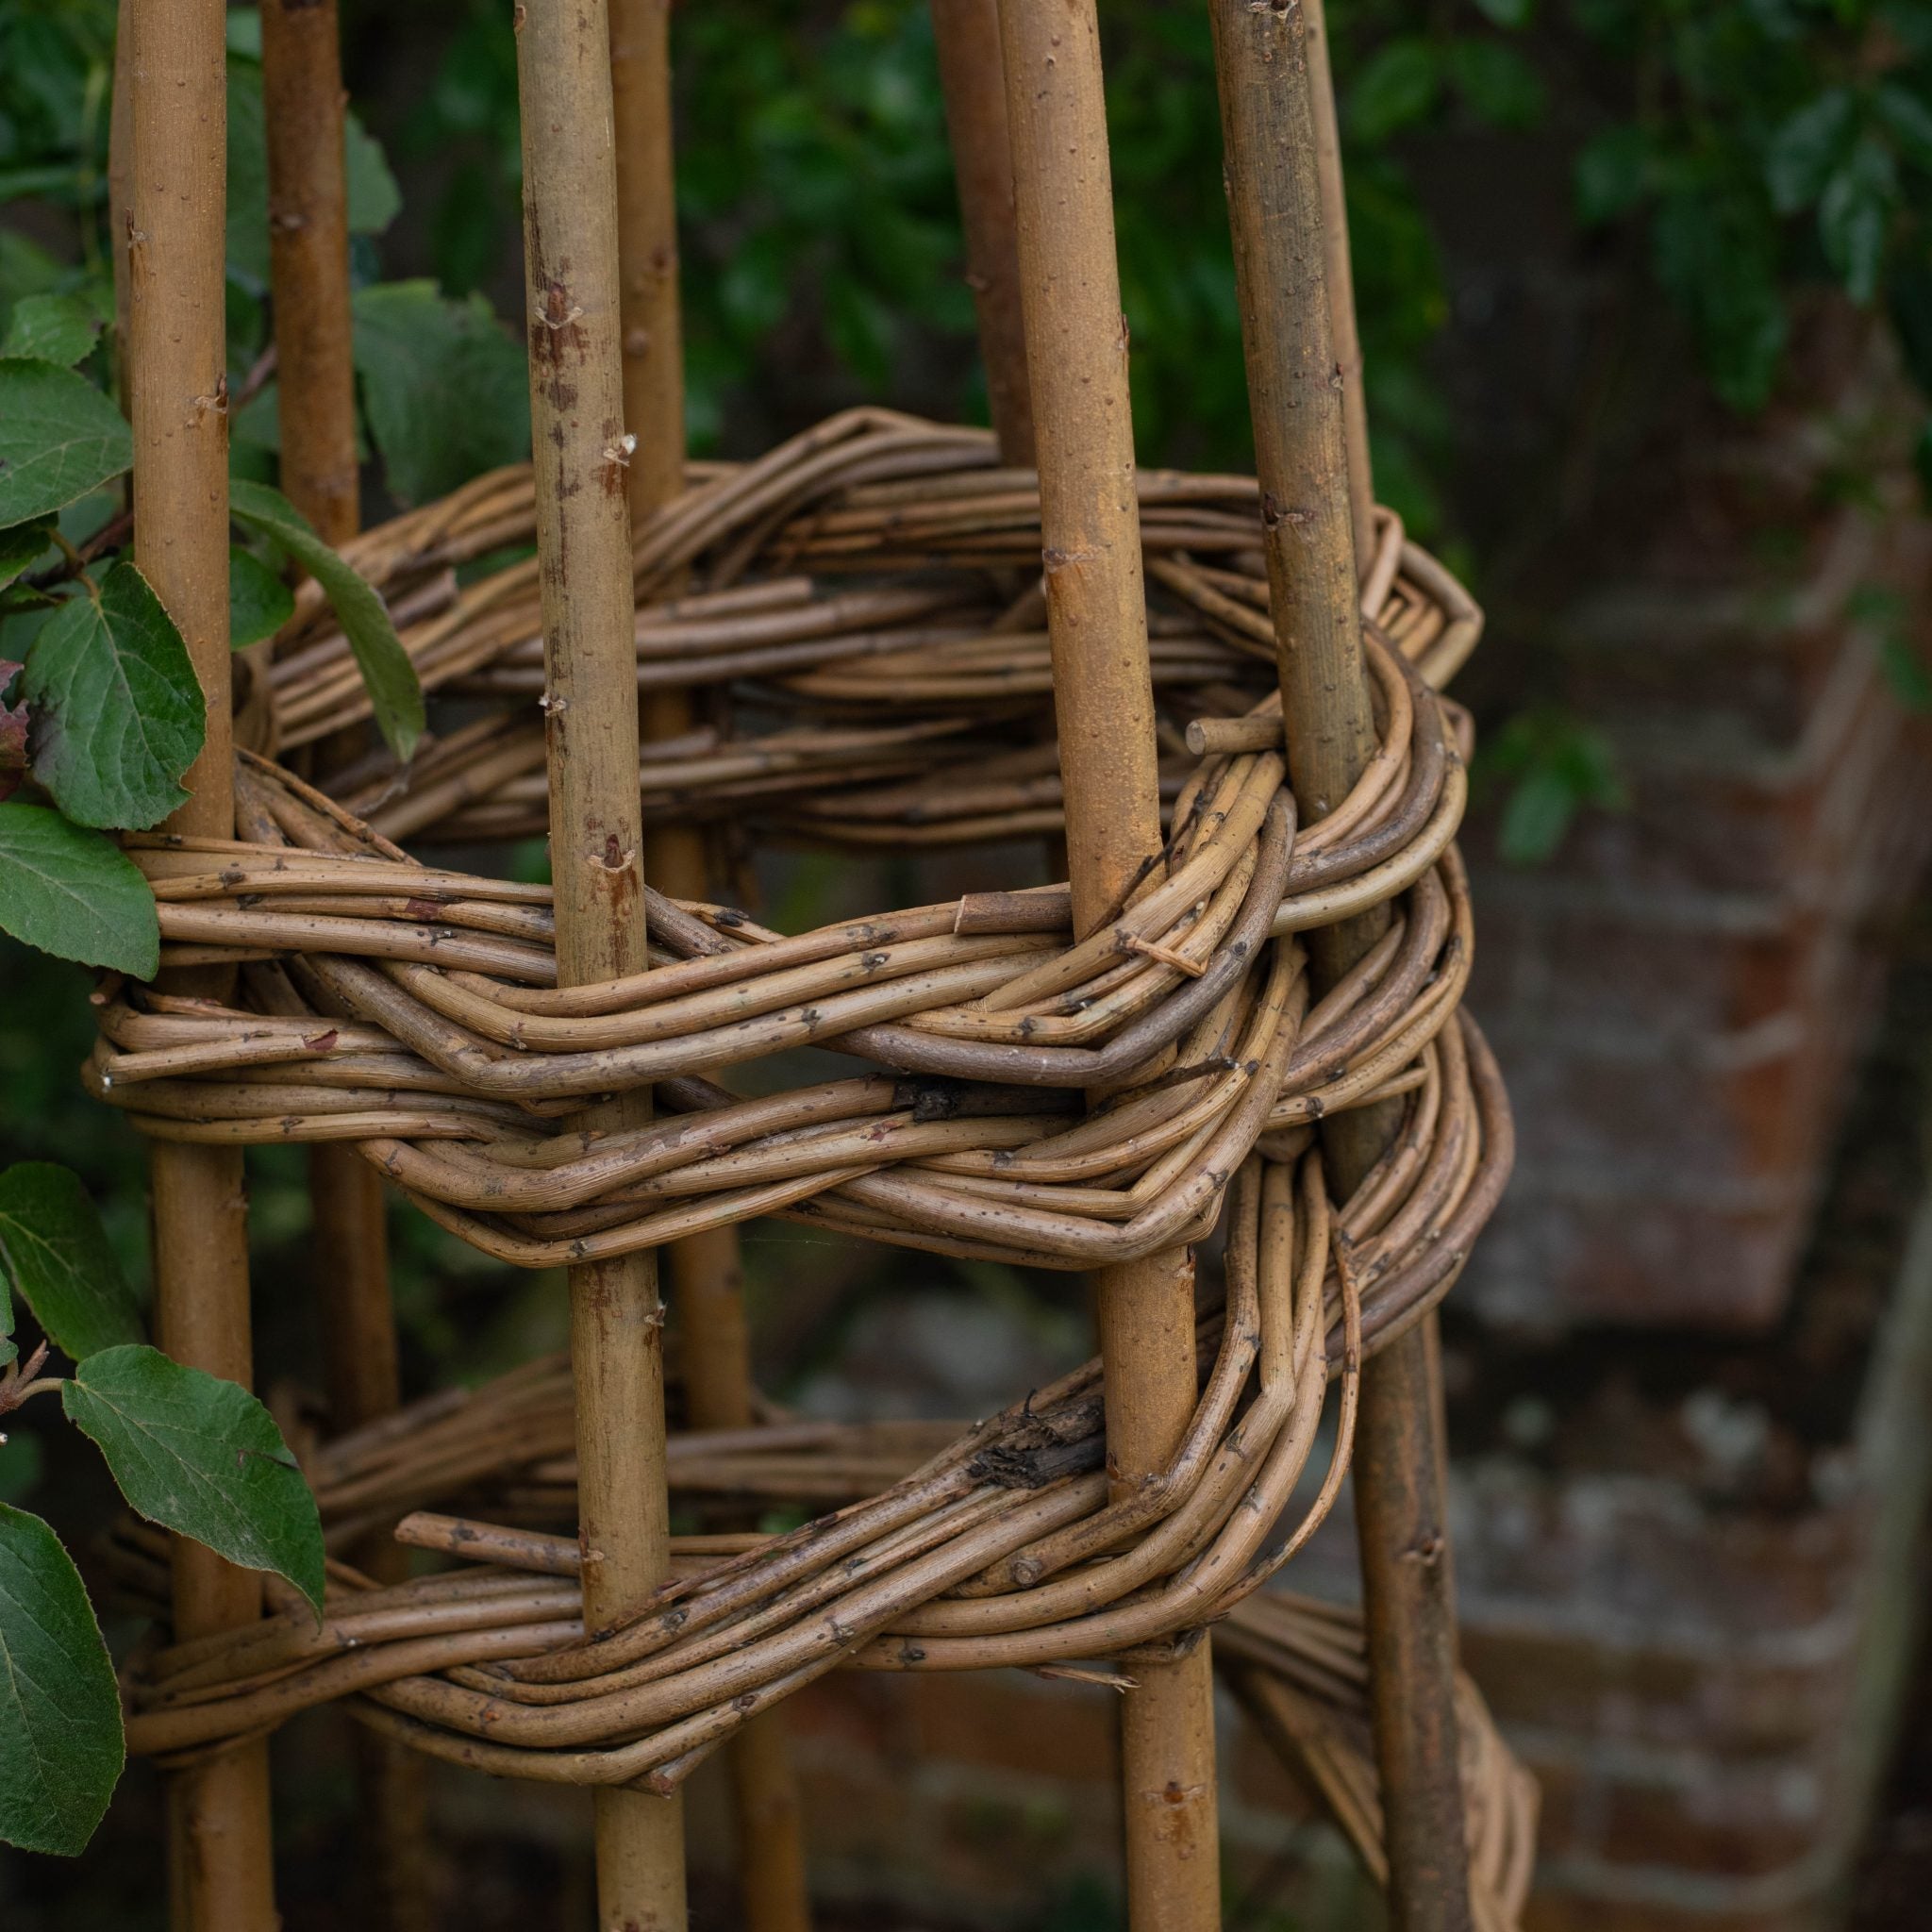
![]()
5. Top Up with Soil
Once your bulbs are placed, cover them with soil so they sit at the recommended depth (usually 2–3 times the height of the bulb). Gently firm the soil down.
6. Water Well
Give the pot a good soak to settle the soil around the bulbs. After this, keep the soil moist but not soggy.
7. Place the Pot
If planting in autumn for spring blooms, store the pot in a cool, dark, sheltered spot for 8–12 weeks (like a shed or garage) to allow the bulbs to chill. Once shoots emerge, move the pot into the light. Larger pots are fine to be left outside.
For summer-blooming bulbs like lilies or dahlias, place the pot in a sunny spot after planting.
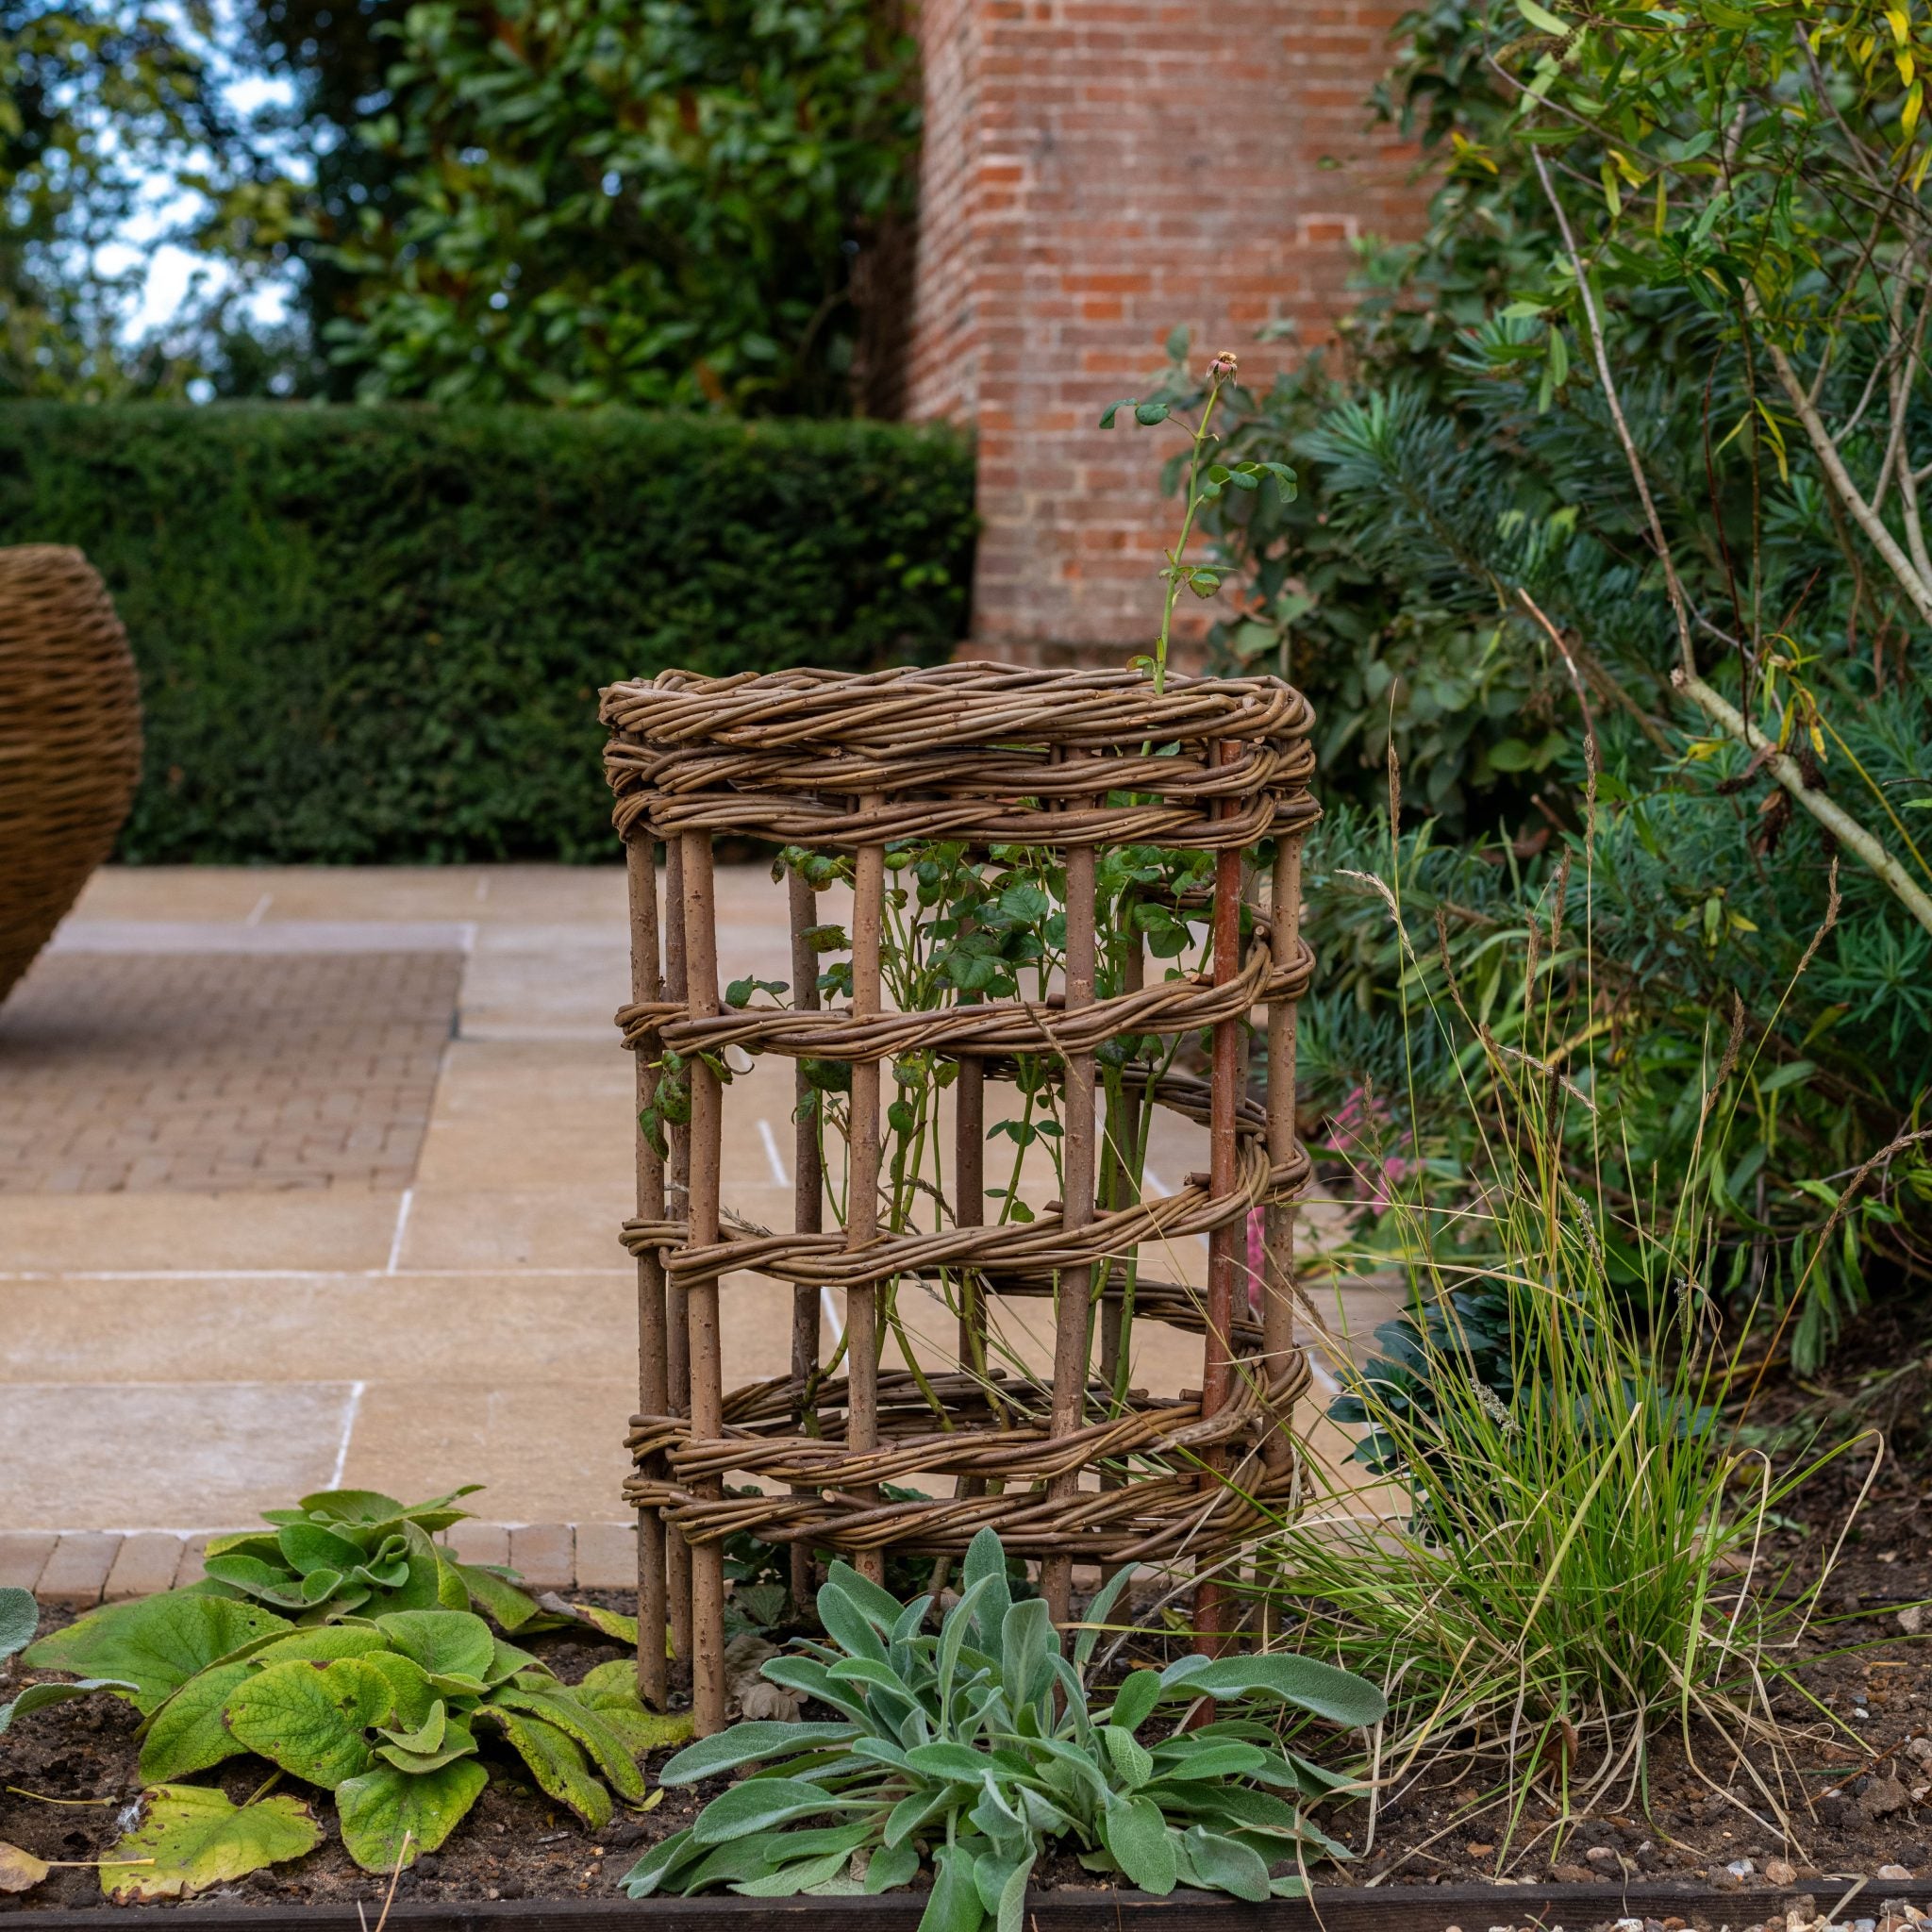
![]()
Caring for Your Bulbs in Pots
Water: Keep soil moist, especially during growth and blooming.
Feed: Use a balanced liquid fertilizer when shoots appear.
Protect: Move pots during extreme cold or storms.
After blooming: Let the leaves die back naturally to feed the bulbs for next year.
Best Bulbs for Pots
Some bulbs are especially well-suited to containers. Try these:
Tulips – Classic spring beauty
Daffodils – Cheerful and reliable
Hyacinths – Fragrant and colourful
Crocuses – Perfect for early blooms
Alliums – Bold and architectural
Snowdrops – Ideal for small pots and early bloom
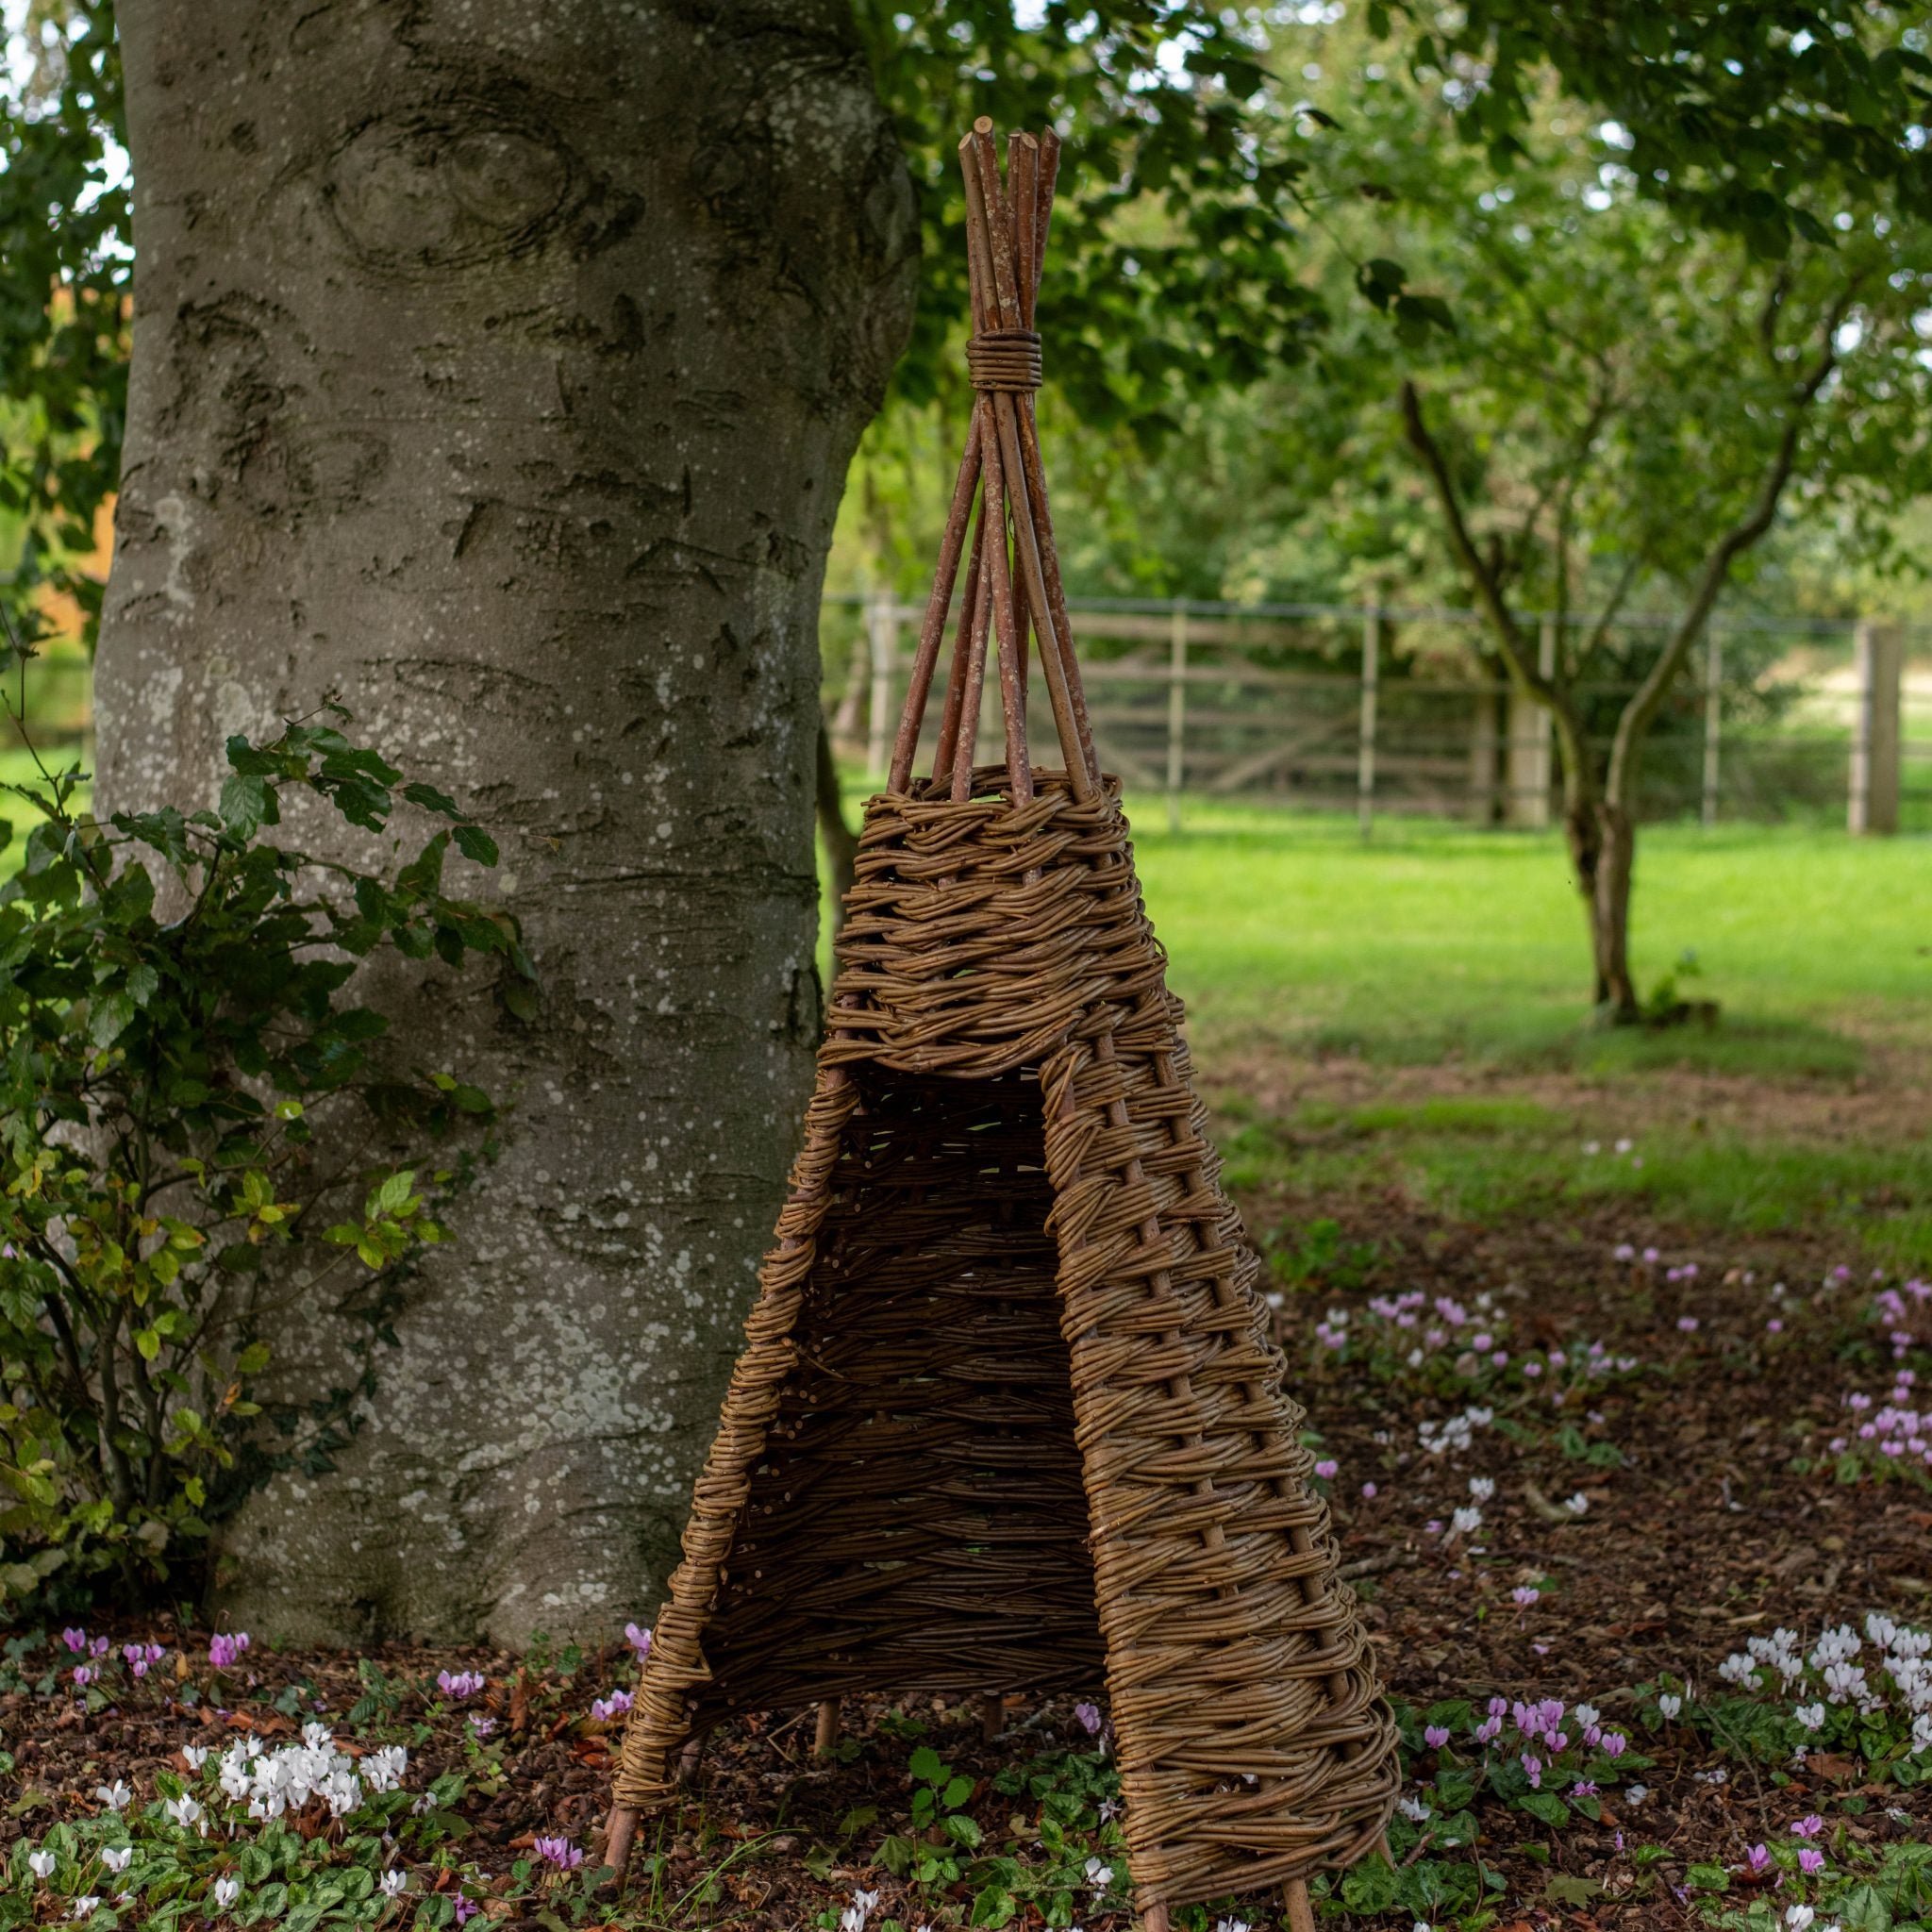
![]()
Final Thoughts
Planting bulbs in pots is a simple way to bring seasonal beauty to any space—whether you're an experienced gardener or just getting started. With a bit of preparation and care, your potted bulbs will reward you with a stunning show of flowers that brighten your home and lift your spirits.
Ready to get your hands dirty? Grab a pot, pick your favourite bulbs, and start planting!